Midjourney is the easiest way into AI image generation. You type a sentence. A picture appears. There is almost no ceremony between the thought and the result, which is why it became the tool everyone started with, and why it remains the tool everyone comes back to when they want a single image to feel composed rather than assembled.
The strange thing is how few people use it well. Most of the stories you hear about frustration with Midjourney — the blown budgets, the disappointing outputs, the moment of realising your gallery has been public this entire time — trace back to the same three quirks. You need a paid subscription from day one. Your pictures are visible to strangers by default. And almost every lever that matters lives in a short list of parameters nobody mentions on your first day.
Here is what you actually need to know.
Pick a plan first
There is no free trial. If you want to generate anything, you are picking a plan.
There are four: Basic at $10 a month, Standard at $30, Pro at $60, and Mega at $120. Annual billing saves you roughly twenty percent if you know you are staying. What these numbers actually buy you is time on Midjourney’s fastest servers — “Fast hours,” measured like a meter. Basic gives you 3.3 hours a month, Standard 15, Pro 30, Mega 60.
Basic is fine for a week of curiosity. Thirty or forty pictures to see whether you enjoy this at all. Once your Fast hours run out on Basic, you stop generating until the next month. That is the hard wall that catches most new users.
Standard is the honest starting point for anyone who wants to work. Fifteen Fast hours is meaningful, and when you burn through them you drop into Relax Mode — an unlimited queue where your generations wait a minute or two instead of appearing immediately. Relax Mode is the reason Standard feels like it has no ceiling. It is, for most people, the right plan.
Pro and Mega add volume, but Pro has one feature that punches above its price: Stealth Mode. More on that shortly. If you plan to use Midjourney for client work, or you simply do not want every image you generate to be visible to strangers, Pro is the first tier where that becomes possible. Mega is for people generating hundreds of images a week.
Every paid plan includes commercial use. If your company earns over a million dollars a year, Midjourney asks you to move to Pro or Mega, but most people reading this will not need to think about that line.
Use the web, not Discord
Midjourney started on Discord. For a long time that was the only way in, which is why half the tutorials online still walk you through server channels and slash commands.
Ignore them. As of 2026, the web interface at midjourney.com is the clear choice. It is faster, it shows you your work in a proper grid, and all of the newer features — Draft Mode, voice prompting, the editor — were built with the web in mind. The only reason to keep Discord around is if you are genuinely active in the community channels and enjoy that social layer. For making images, the web wins.
Sign in, pick a plan, and you are looking at the prompt bar.
Your first prompt
Type something you can picture.
A quiet morning in a small kitchen, sunlight across wooden countertops, a single cup of coffee, steam catching the light.
Press enter. Wait about a minute.
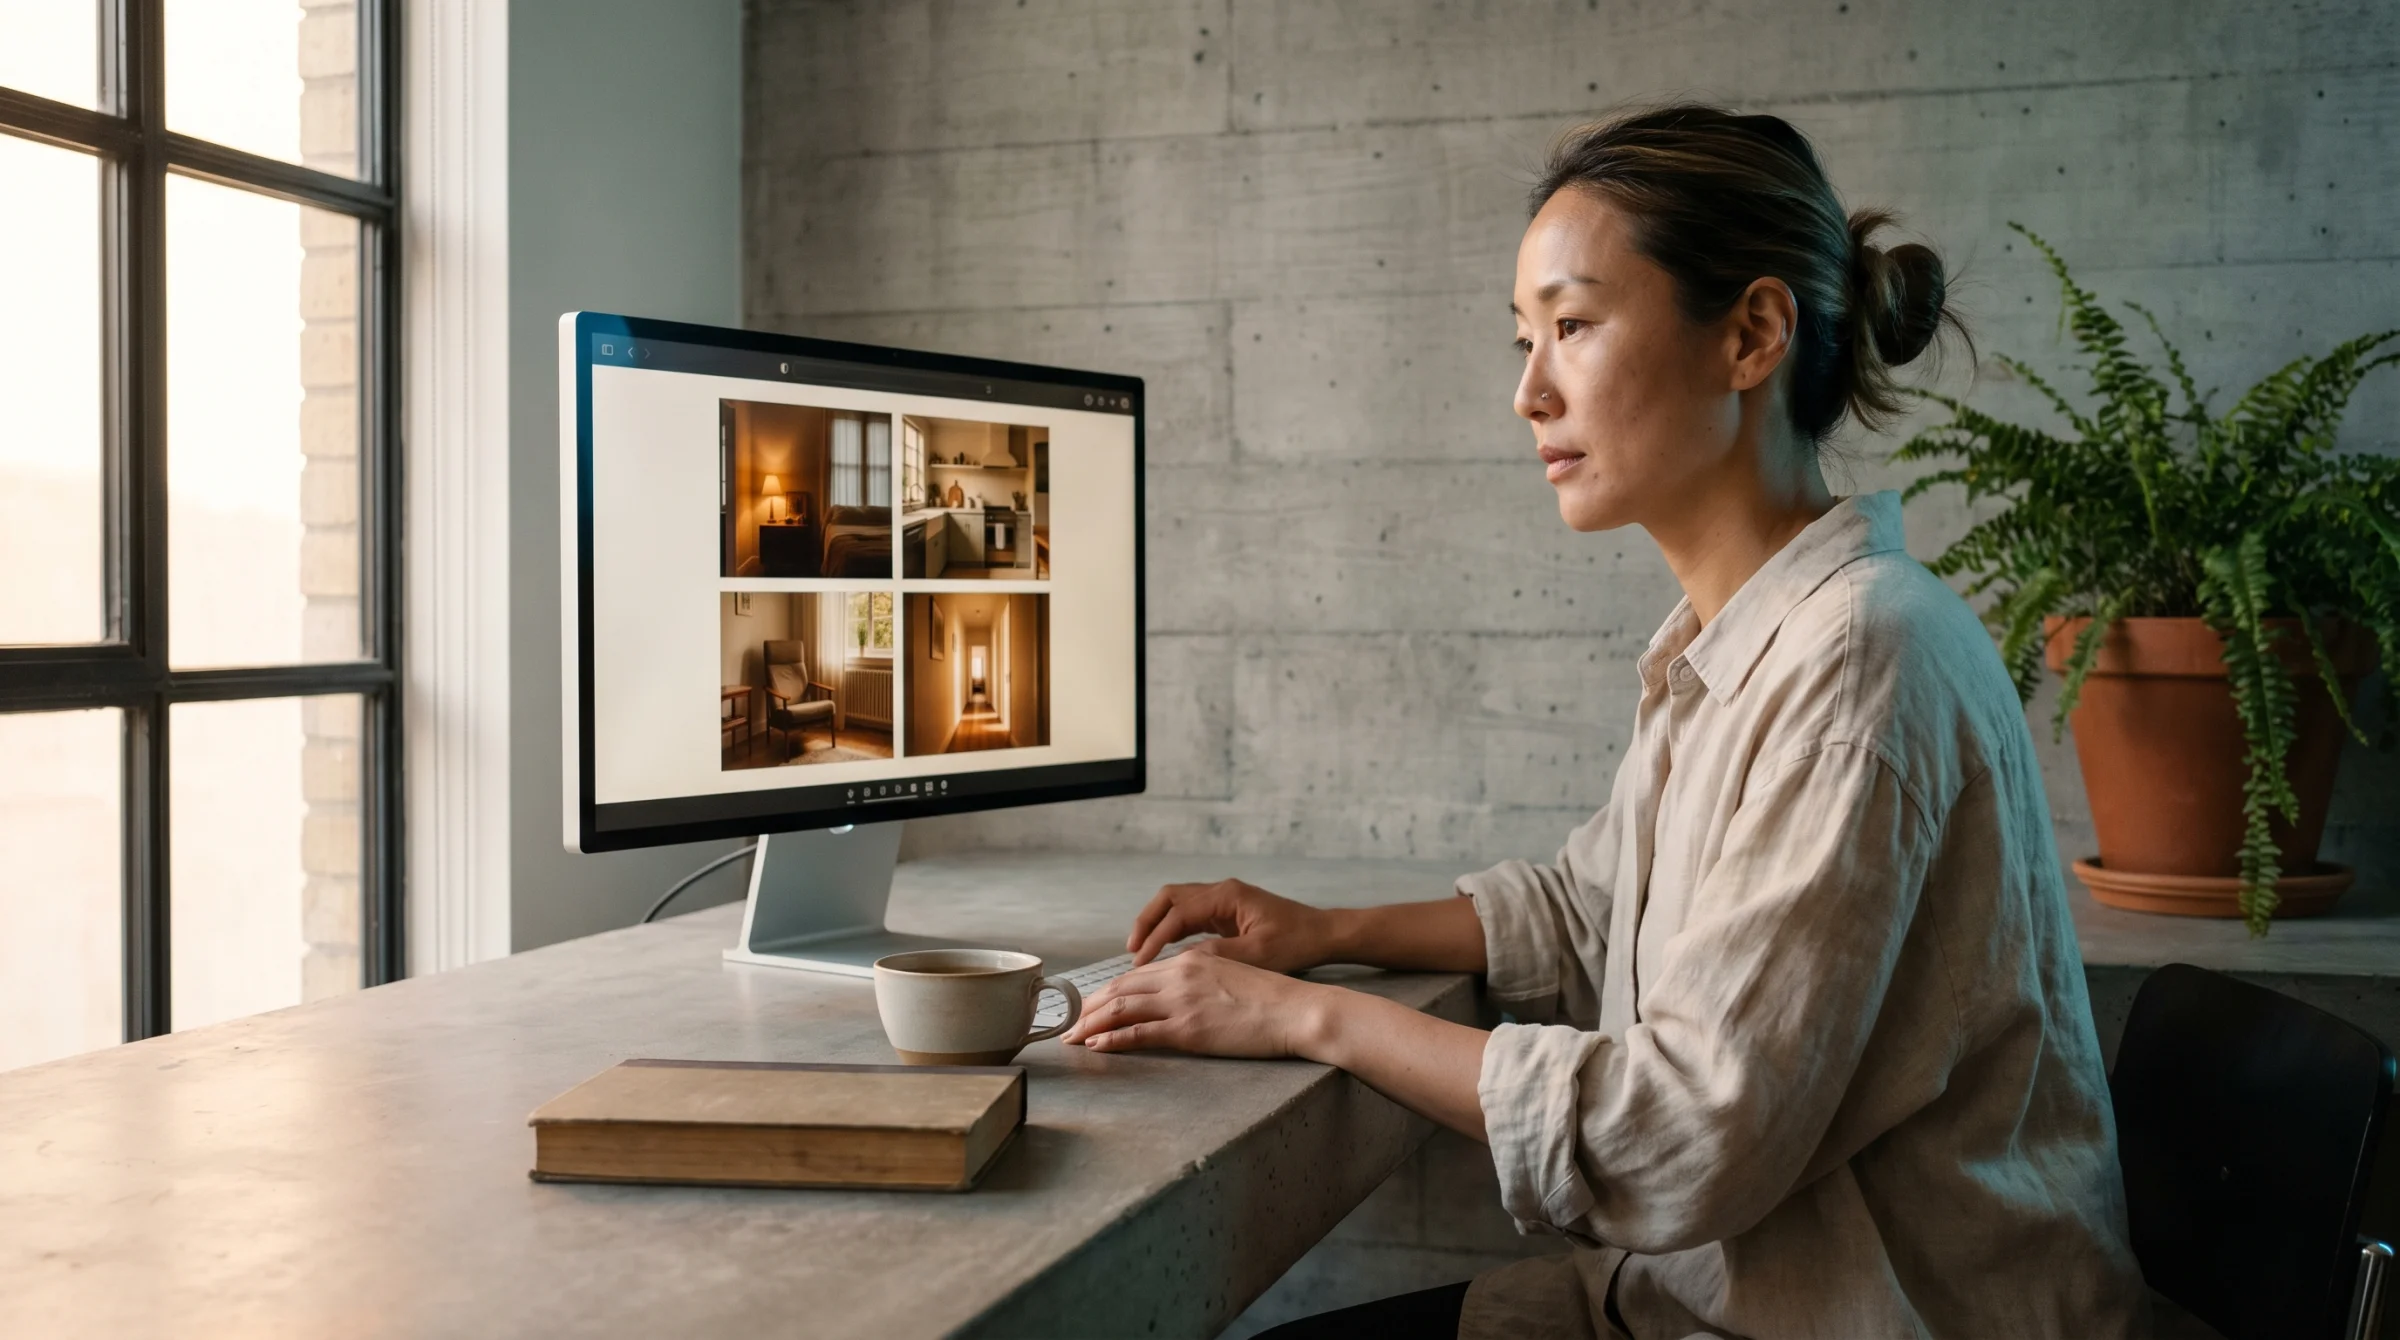
Midjourney returns four pictures — a 2x2 grid. Variations on the same sentence. This is the shape of every Midjourney generation. You do not get one image, you get a small set, and your job is to pick a direction from there.
Some of the four will be closer to what you had in mind. Some will feel wrong. Click on the one you like. You will see buttons to make variations of it (four new images that riff on the same idea) or to upscale it to full resolution. Upscaling is what you do when you have found the keeper. That is your final file.
The thing to notice on your first generation is how much the model invented that you did not ask for. You did not specify wood grain, or the colour of the cup, or where the window was. Midjourney filled all of that in. This is the quiet agreement with the model: you describe the feeling, it handles the details.
You can tighten that agreement over time. But on day one, let the model decide.
Draft Mode is your friend
There is a toggle near the prompt bar called Draft Mode. Turn it on.
Draft Mode generates at roughly ten times the speed of a normal render and costs about half as much of your Fast hours. The pictures are a little rougher, a little less resolved, but they are the same composition and the same palette. Think of them as thumbnails.
This is how experienced users work. You burn through twenty rough ideas in the time it would take to make two polished ones. You scan the set. Most are nothing. One or two catch your eye. When you find one worth committing to, there is a button called Enhance — click it, and Midjourney re-renders that draft at full quality.
The mistake beginners make is rendering everything at full quality from the start. A month later they are out of Fast hours and they do not understand where they went. Draft Mode is where the early iteration happens. Full render is where the finished work happens. Keep them separate in your head.
Talk to it
There is a microphone icon on the prompt bar.
Click it and talk. Midjourney transcribes what you say into the prompt field. This sounds gimmicky until you try it at the ideation stage — describing a scene out loud is faster than typing, and it tends to produce longer, more evocative descriptions than you would write with your fingers. You ramble a bit. That rambling is useful. The model responds to texture.
Voice is best for the exploratory phase. Once you are tuning specifics — adjusting a parameter by a decimal, naming a particular artist, locking in a colour — keyboard is still faster. Use voice to sketch, type to refine.
Everything is saved, and everyone can see it
Midjourney saves every picture you make. Log back in a week later and they are all there, waiting in your gallery. Click any image and the prompt comes back with it — every word you typed, every setting you chose. This is better than nearly any other AI image tool, and it changes how you should work. You do not need to keep a separate file of prompts. The gallery is the prompt library.
Now the thing to know before you generate anything you would not want a stranger to see.
By default, everyone can see your gallery. Not just people you share a link with. Everyone. Your pictures live in a public feed called Explore, and anyone on Midjourney can scroll past them, click on them, and copy your prompt back to use themselves.
Most people do not realise this until someone mentions it at a dinner party. If you have been generating client work, or photographs of recognisable people, or mood images for a project you have not announced, they have all been public the whole time.
This is where Stealth Mode comes in, and it is the quiet reason professional users pay for Pro. On the Pro ($60) and Mega ($120) tiers you can toggle Stealth Mode on and your generations disappear from the public feed. On Basic and Standard there is no such toggle. Anything you make is visible.
If you only ever make images for fun, this does not matter. If you are making anything you would not post on your own account, it does.
Your first week
The pull on day two is to generate a hundred different things. Resist it.
A better way to learn what Midjourney actually does is to hold the subject still and vary one thing at a time. Pick a scene. Anything. A woman walking a dog along a coastal path. A bowl of fruit on a kitchen table. A library at night. Something you can describe in one sentence.
On day one, generate it five times with Draft Mode on. Look at what changes across the five — the framing, the lighting, the mood. You are learning what the model’s default instincts are.
On day two, keep the same sentence and add a single word for mood. Melancholic. Quiet. Restless. Generate five more. Notice how one word moves the whole composition.
On day three, add a lens. Shot on a 35mm lens. See what tightens, what widens. Spend an afternoon just on this.
On day four, add a reference to an aesthetic or an era. In the style of a 1970s magazine photograph. Watch the palette shift.
On day five, take everything you have learned and write the longest, most specific version of your sentence you can manage. Generate it once. Compare it to what you made on day one.
The point of the exercise is not to produce something you are proud of. It is to teach you causation. Which word moved the image? Which one did nothing? Which combinations fought each other? Every hour you spend in this mode is worth five hours of generating random things, because by the end of the week you have the beginnings of an intuition about the model, and intuition is the whole game.
Where to go next
Once you can feel how the model responds, the next layer is parameters — the short commands you append to a prompt that give you real control over aspect ratio, style strength, reference weighting, and more. The Midjourney Parameter Reference walks through every one worth knowing, with examples of what each does.
If you are trying to work out what to actually make with all of this, What Midjourney Is For covers the projects where the tool genuinely earns its place — moodboards, editorial imagery, personal work, client concepts.
And when you are ready to jump the biggest visual gap in Midjourney — developing a consistent, recognisable style across everything you make — The Midjourney Style Reference Pack is a collection of tested --sref codes that lock in specific aesthetics. It is the single fastest way to move from “pictures that look like Midjourney” to “pictures that look like yours.”
If you are still weighing Midjourney against the other tools, AI Image Models in 2026 puts it in context against everything else in the field.
The rest is practice. The meter is already ticking. Go make the first picture.